 Chinese Knot Guide
Chinese Button Knot Instructions: Step-by-Step Working-End Method
Chinese Button Knot Instructions: Step-by-Step Working-End Method. Tie and dress one one-working-end Chinese button knot variation without mixing alternative co
Quick Answer: These Chinese button knot instructions use one working-end method: make two loose overlapping loops, weave the working end down through the right loop, up through the middle, and down through the left loop, then take it across the fixed end. Bring that working end down through the right loop again, pass it under two cord segments, and bring it up through the small center opening. Check the over-under path while the structure is flat. Tighten by moving slack through each linked loop in order, not by pulling only the two ends.
Button knot cord and path facts
- Variation
- One working end with one fixed end.
- Practice material
- Firm, smooth, non-fraying cord in a visible thickness.
- Critical landmark
- The small center opening must remain visible until the final return pass.
- Tightening method
- Transfer slack around the linked loops in sequence; do not pull only the two ends.
- Safety boundary
- Keep loose cord away from children and pets; use scissors and any heat finishing only with suitable material and adult care.
Choose cord that lets you see the path
# Chinese Button Knot Instructions: Step-by-Step Working-End Method These Chinese button knot instructions use one specific variation: one working end weaves around a fixed end, then both ends leave the finished knot together. Keep the knot open and flat until every crossing is correct. Only then transfer slack around the structure to form the rounded button. This is a making guide, not a page about the knot's cultural meaning.
Practice with a single color of medium-thickness cord that bends cleanly but does not collapse the moment you release it. Very thin cord hides crossings. Very slippery satin cord can make the open structure wander. Very stiff cord fights the rounded final shape. A short sample tells you more than a product name.
Cut enough cord to form generous open loops and leave a working tail. The exact length depends on cord diameter and the object you plan to attach. For a first attempt, extra tail is easier to manage than a path that runs out before the return pass. Do not cut a final garment piece until you have tied a successful sample with the same material.
If you need more material guidance, read cord for Chinese knots before starting. This tutorial assumes the cord ends are already stable enough to weave. Fraying ends can be temporarily wrapped with a small removable piece of tape during practice, but do not let the tape enter the knot.
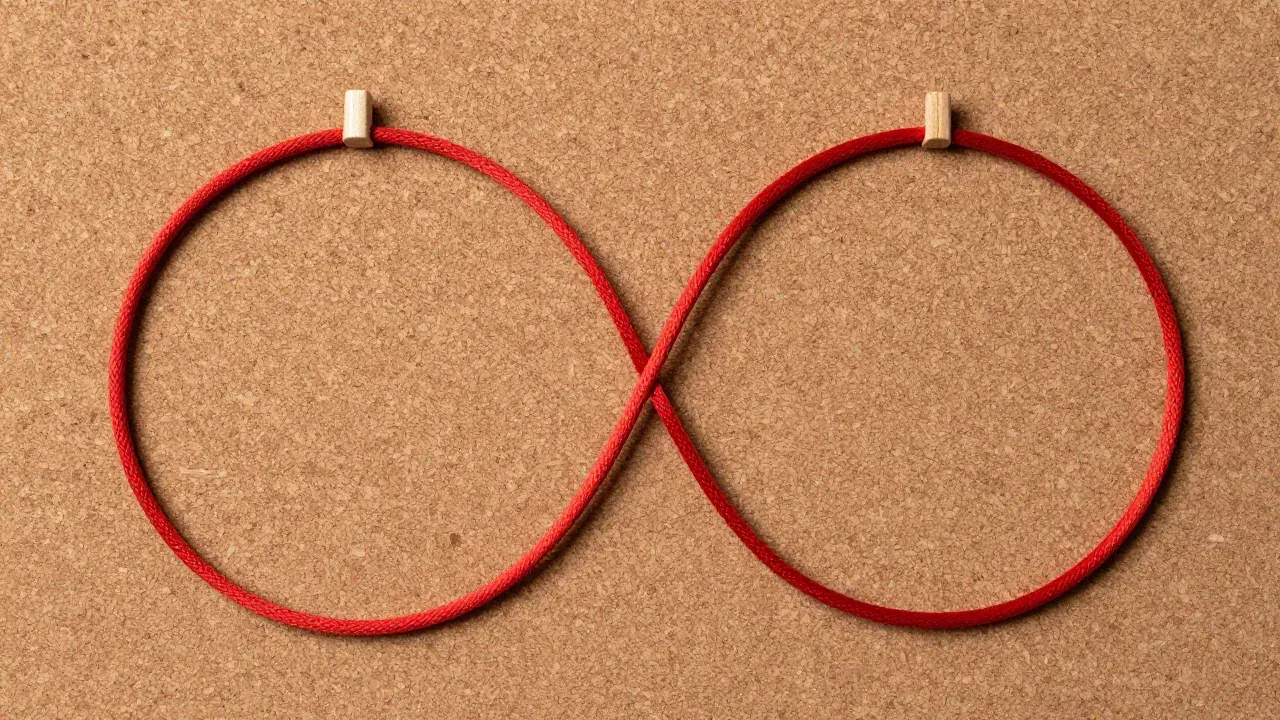
Work on a flat, uncluttered board in good light. Wooden pins can hold broad loops, but keep sharp points directed away from your body. Keep loose cord, pins, scissors, and tiny trimmings away from children and pets.
Name the two ends before the weave begins
Lay the cord so one side will remain mostly fixed and the other side will travel. Call them the fixed end and the working end. This language matters because the method is not a two-working-end sequence. Switching roles halfway through can create a different structure.
The fixed end is not immovable; you may adjust it during dressing. It is called fixed because it provides the reference line while the other end makes the interlacing path. Place it so you can see where the working end crosses above or below it.
Do not rely on left and right alone. A photograph can be mirrored, and rotating the board changes those labels. Track three things instead: the fixed end, the working end, and whether each crossing is over or under. If you pause, clip a temporary marker to the free working tail rather than marking the cord with ink.
The existing Chinese button knot tutorial gives a broader materials-and-tightening overview. This page stays with the one-working-end path so the instructions do not switch methods midstream.
Set up the fixed end and the first two loops
Make the first open loop in the cord near the fixed side. Hold the crossing lightly so the loop remains large and flat. This is a scaffold, not the final button size.
Form a second loop over the top area of the first loop. The two loops should create visible right, middle, and left spaces rather than a pile of cord. Spread the structure until every segment can be traced with a fingertip or blunt pointer.
Now guide the working end down through the right loop, bring it up through the middle space, and lead it down through the left loop. The working end should travel through all three areas in that order. Do not tighten.
Take the working end across the top of the fixed end. Pause here. You should still see the small center area created by the interlacing. That opening is needed later. If it has disappeared, enlarge the loops and reconstruct the crossing before proceeding.
The one-working-end instructions documented by ChineseKnotting.org emphasize the fixed-end relationship and the center area used in the final interlacing. Use the source's sequence as a visual cross-check when actual step images are available.
Complete the return pass through the center
Bring the working end down through the right loop once more. From there, route it beneath the next two cord segments. Count the segments physically; guessing from the overall silhouette is where many wrong knots begin.
After passing under those two segments, bring the working end up through the small center opening preserved in the previous stage. The working tail and fixed side should now emerge in a relationship that allows the flat weave to close into a compact button.
Keep the structure on the board and trace the entire working path from tail to center. At each crossing, confirm which segment is on top. The weave should alternate through the intended route rather than creating an accidental pair of uncrossed parallel segments.
The American Sewing Guild's Chinese knot button overview likewise stresses the over-under interlacing and gradual shaping. Different tutorials may present another hand position or starting arrangement. Do not splice a later step from another variation into this one-working-end sequence.
If your center opening is on the wrong side or the working end cannot reach it without crossing an extra strand, stop. Undo only to the last confirmed crossing. Pulling harder will not correct a wrong route.
Audit the flat structure before tightening
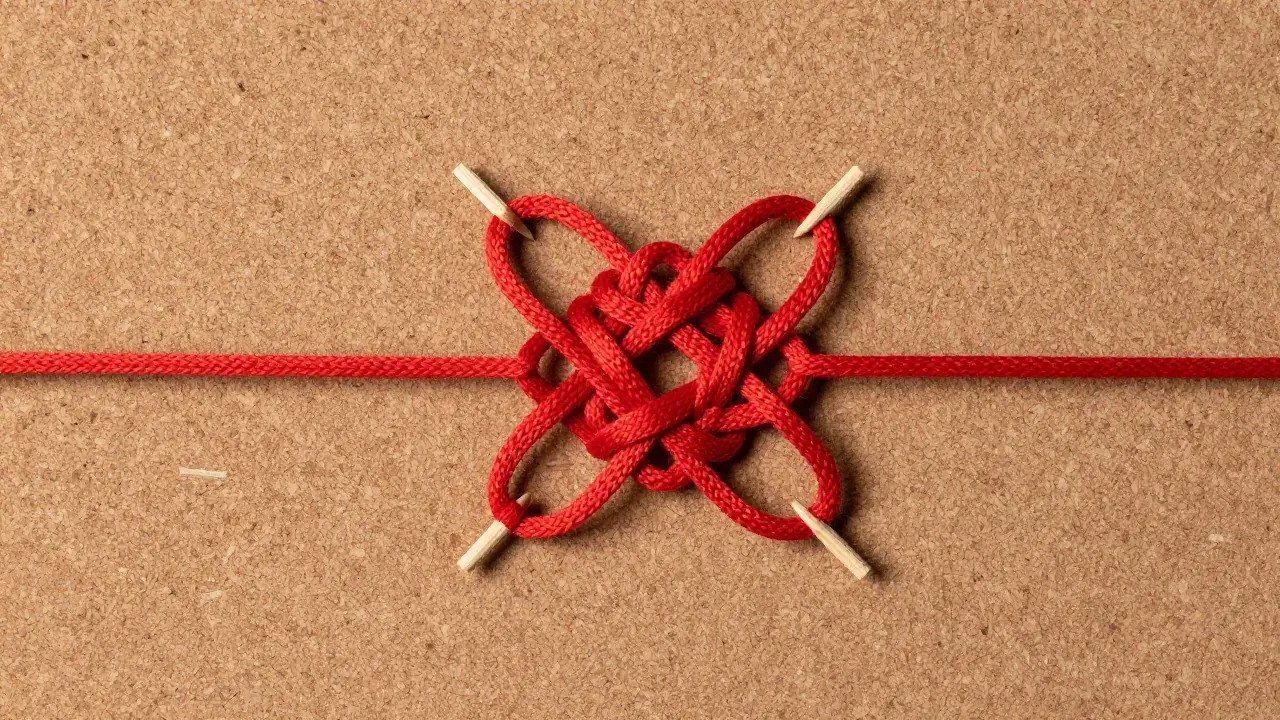
A correct open structure is easier to inspect than a half-tightened one. Spread the loops until you can identify the first loop, second loop, three-space weave, return under two segments, and final rise through the center.
Check for twists in the cord. A flat satin or fabric tube can turn over during weaving, producing a finished button with an unintended ridge. Untwist each segment while there is still slack. Round cord also benefits from this check because a hidden crossing can roll out of view.
Compare the two sides for approximate symmetry, but do not chase perfect loop size yet. Structural order comes before cosmetic balance. A large correct loop can be reduced during dressing; a small loop routed through the wrong opening must be retied.
Gently lift the structure and confirm that no pin is trapped. Remove pins one at a time while supporting nearby crossings. Never tighten around a pin or sharp tool.
At this stage, photograph the flat path for your own reference. The image can help you diagnose the next attempt, but do not assume a similar outline proves identical crossings. The over-under route is the real test.
Dress the knot by moving slack, not yanking the ends
Dressing means redistributing slack through the connected loops until the flat weave becomes a compact, even button. It is a separate skill from laying the path.
Begin with gentle tension on the ends so the structure starts to gather. Stop while loops are still visible. Find the loop directly connected to the segment you want to shorten, pull its slack through, then move to the next linked loop. Continue around the knot in one consistent direction.
Think of slack as traveling through a chain. If you pull only the two ends, the nearest segments may lock while distant loops remain large. The result can be a lopsided knot with one buried section and one protruding ear.
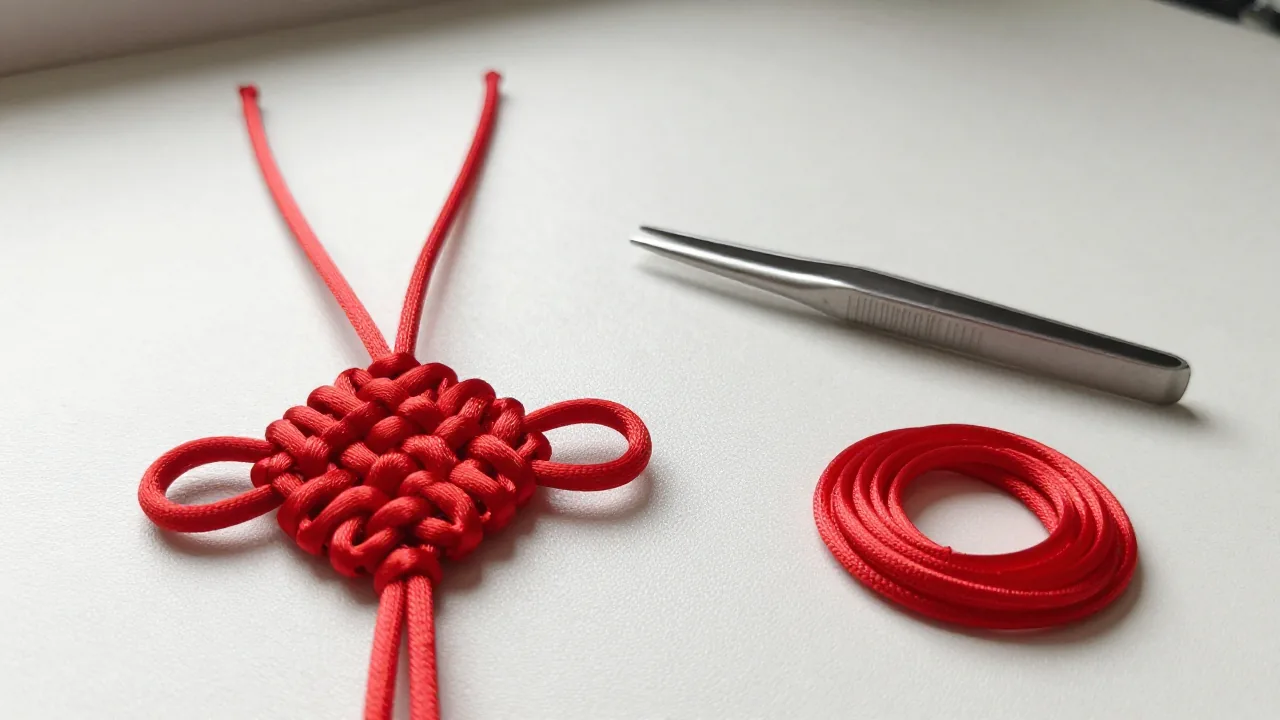
Turn the knot as you work. Reduce each loop a little rather than eliminating one loop completely on the first pass. Several gradual circuits produce a more even surface. Blunt-tip tweezers or a smooth awl can lift a loop that begins to sink, but insert tools away from your body and avoid puncturing the cord.
As the knot rounds, keep the two exiting ends aligned for the intended use. For a decorative button, test the finished diameter against its loop before the knot becomes immovable. A beautiful button that cannot pass through its closure is not finished correctly.
Diagnose the shape before starting over
If the knot stays flat, it may still contain too much slack, or the center has not been raised while the outer loops were dressed down. Work another circuit, moving small amounts of slack. Do not crush it in your fingers and hope it becomes symmetrical.
If one large loop sticks out, trace which segment feeds it. Pull slack from that loop into the next linked segment, then continue around. Cutting the protruding loop would destroy the cord path.
If the ends leave from unexpected sides, compare the flat-stage photograph with the selected method. You may have changed an over crossing to an under crossing or entered the wrong center opening. Loosen and correct the path; do not disguise the error with glue.
If the surface has a sharp kink, check for a twist or crossed pair hidden during dressing. A blunt tool can reopen the knot enough to inspect it. Cord that has been sharply creased may need replacement for the final project.
If every attempt slips apart, the material may be too slick or the weave may be incomplete. Practice on firmer cord before returning to the decorative material. Adhesive is not a substitute for a correctly interlaced practice knot.
Fit, finish, and use the button safely
Test the knot in its intended closure under light, controlled tension. Decorative knot buttons are not automatically suitable for load-bearing, climbing, restraint, or safety equipment. This tutorial describes a clothing or craft component.
Leave enough tail for the attachment method. Sewing, integrating the ends into a larger knot, or securing them inside a garment are different finishing tasks. Follow a method appropriate to the material and project rather than cutting flush immediately.
For synthetic cord, some makers seal ends with heat. Not every cord is synthetic, and melting material can burn skin, release fumes, discolor the cord, or create a hard sharp edge. Check the fiber first, ventilate the area, keep flame away from the finished knot, and use adult supervision. Fabric tubing, natural fiber, and unknown cord should not be treated as if they were nylon.
The Chinese button knot meaning page discusses cultural context. Do not treat those meanings as construction instructions, and do not assume a technically correct knot guarantees any symbolic result.
One path, checked before pressure
The reliable way to follow Chinese button knot instructions is to keep one variation intact from start to finish. Name the ends, preserve the center opening, verify the return pass, and inspect the flat weave before applying pressure.
Most of the final quality comes from dressing rather than force. Move slack around the knot patiently, keep the surface even, and test the button in its actual use. That discipline produces a cleaner result and makes mistakes understandable instead of mysterious.
Tie and tighten one button knot path
- **Prepare firm practice cord** and identify the fixed end and working end.
- **Form the first open loop** without tightening its crossing.
- **Place a second loop over the first** so right, middle, and left spaces remain visible.
- **Weave down-right, up-middle, down-left** with the working end.
- **Cross over the fixed end** and preserve the small center opening.
- **Return down through the right loop**, then pass under two cord segments.
- **Bring the working end up through the center opening.**
- **Audit every crossing** while the structure is flat.
- **Dress slack through linked loops** in repeated gradual circuits.
- **Test size and attachment** before trimming or finishing the ends.
Questions about button knot instructions
Is this the only way to tie a Chinese button knot?
No. Several methods and related button-knot structures exist. This page deliberately uses one working end and one fixed end so the steps remain internally consistent.
Why should I leave the loops so large at first?
Open loops make the crossings and center opening visible. Tightening too early hides mistakes and makes the final return pass difficult.
Why does my button knot look uneven after I pull the ends?
Pulling only the ends removes slack unevenly. Reopen the knot slightly and transfer slack through each linked loop in sequence.
What cord should a beginner use?
Use firm, smooth, visible cord that holds an open path without excessive slipping or fraying. Test the same material before making the final project.
Can I use the knot as safety or load-bearing hardware?
No. Treat it as a decorative clothing or craft knot unless a qualified standard and tested system explicitly say otherwise.
Should I glue the knot before it is fully dressed?
No. Glue can freeze an incorrect path and make repair impossible. First verify, dress, fit-test, and finish according to the project's material requirements.