 Chinese Knot Guide
How to Make a Chinese Button Knot: Cord, Steps, and Tightening
Learn how to make one Chinese button knot variation with cord choice, loop path, staged tightening, finishing, and beginner troubleshooting.
Quick Answer: To make a Chinese button knot, use cord that holds a curve, form one clear starting loop, pass the working end through the loop path without twisting it, then tighten gradually from the center outward. The exact path matters more than pulling hard at the end.
Cord path and tightening facts
- Knot
- This tutorial uses one beginner-friendly Chinese button knot variation.
- Best beginner cord
- Round cord that is firm enough to hold a curve is easier than limp string or very flat ribbon.
- Main skill
- Keep the loop path open and untwisted before tightening.
- Tightening method
- Tighten in small stages from the center outward rather than pulling one end hard.
- Safety note
- Use care with scissors, pins, and any heat-sealing; children need adult help.
- Common mistake
- Crossed cord or uneven slack usually causes a lopsided button shape.
Step 1: Prepare cord that can hold a rounded button shape
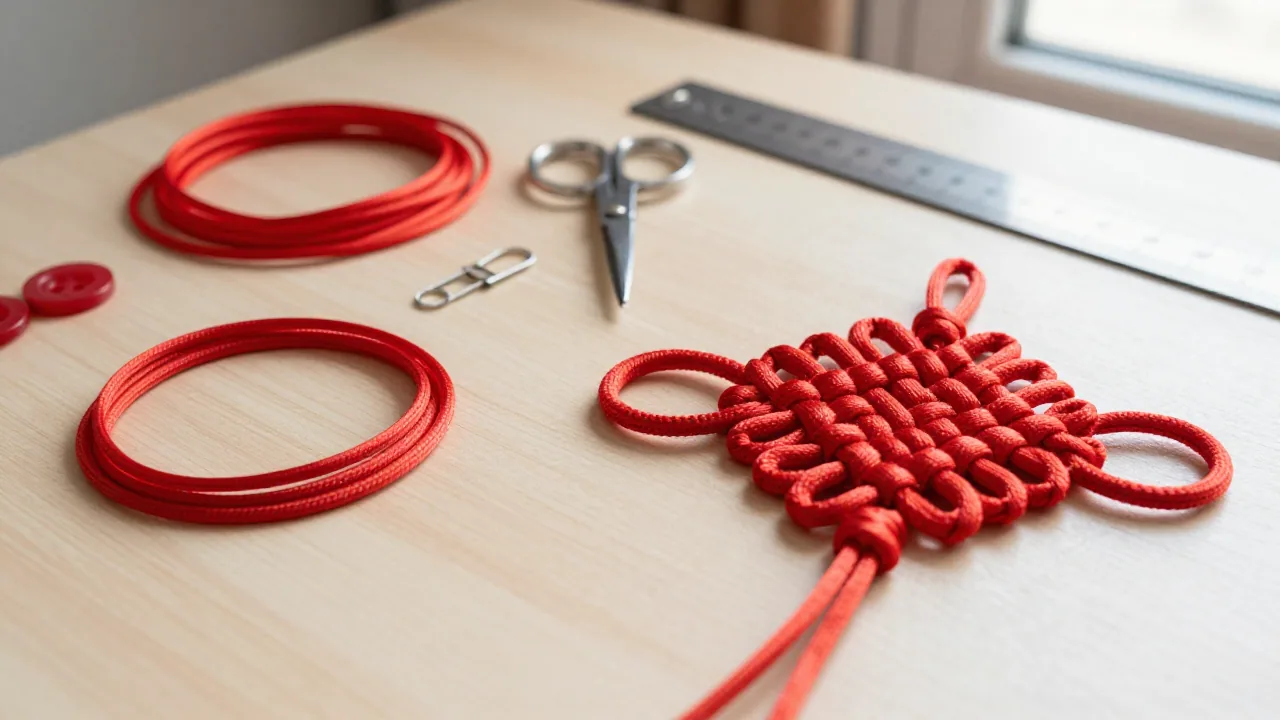
A Chinese button knot is easier to learn with round cord that bends cleanly and keeps a little body. Very soft string can collapse before the shape is visible, while stiff cord can resist the small curves needed for a neat rounded knot.
Cut a practice length longer than you think you need. Extra cord gives your fingers room to hold the loop, test the pass-through path, and loosen the knot if the first attempt crosses incorrectly.
Keep scissors, clips, and any cord-end finishing tools off to the side until the shape is checked. If you use heat to seal synthetic cord, do it carefully in a ventilated space and keep children away from the heat source.
Step 2: Set one starting loop before the cord crosses
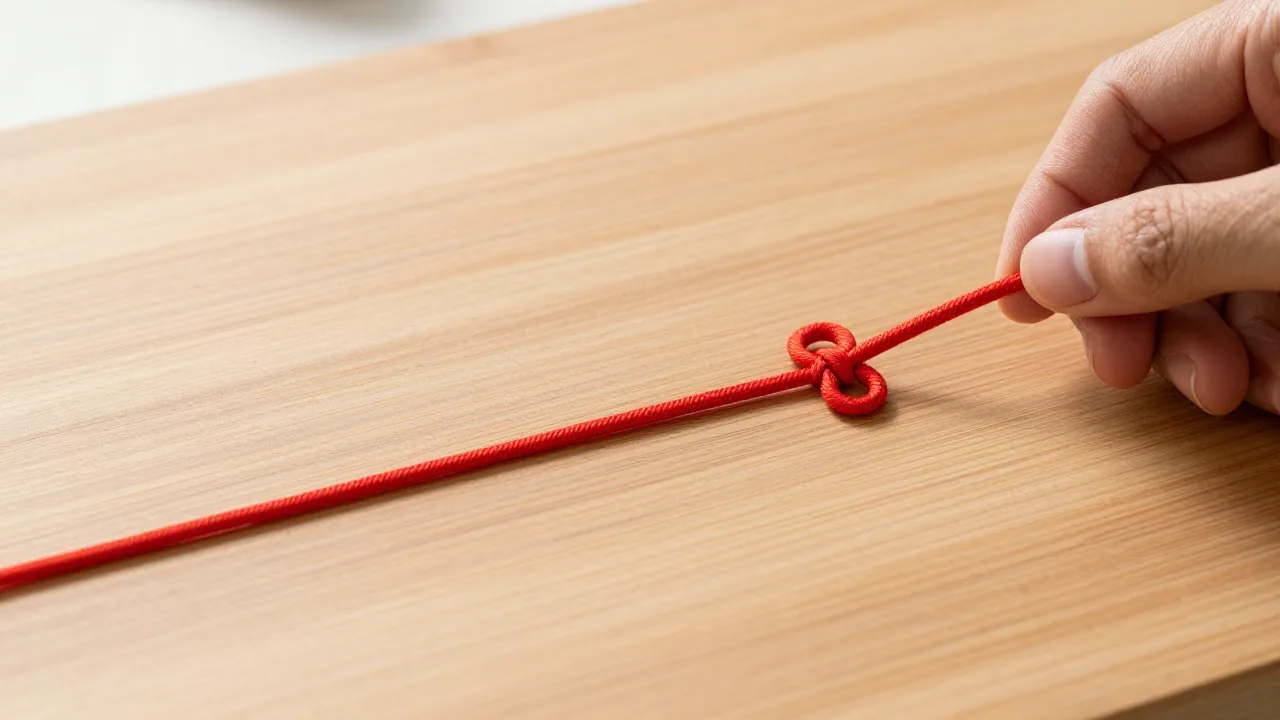
Place the cord on a flat surface and form one clean loop. The loop should be large enough that the working end can pass through without scraping every edge. If the loop is too small at this stage, tightening later becomes guesswork.
Hold the crossing point lightly rather than pinching it flat. You need enough control to keep the loop from moving, but the cord still has to slide when you adjust slack.
Before moving on, look at the cord path from above. The cord should look like one readable route, not a pile of stacked loops.
Step 3: Follow the pass-through path slowly
Move the working end through the loop path in one deliberate motion. Beginners often lose the knot here by flipping the cord over or pulling a section under the wrong strand. Slow movement is more useful than speed.
If the path becomes unclear, stop before tightening. Open the cord back up, rebuild the starting loop, and repeat the pass-through. A loose correct path is easier to fix than a tight wrong path.
Do not force the cord through a cramped opening. Widen the loop, guide the end through, and keep the crossing point visible until the route is set.
Step 4: Tighten the knot in stages, not with one pull
Once the path is correct, tighten a little at a time. Pulling one end hard can drag all slack to one side and make the button knot lean. Instead, move slack around the knot in small increments.
Alternate sides as you tighten. Nudge the paired loops into a rounded shape, then pull the free ends just enough to remove loose sections. The goal is an even button, not a flat knot crushed into place.
If one lobe grows larger than the other, loosen the nearest section and feed slack back toward the smaller side. That small adjustment usually works better than starting over.
Step 5: Finish the cord ends and check the button shape
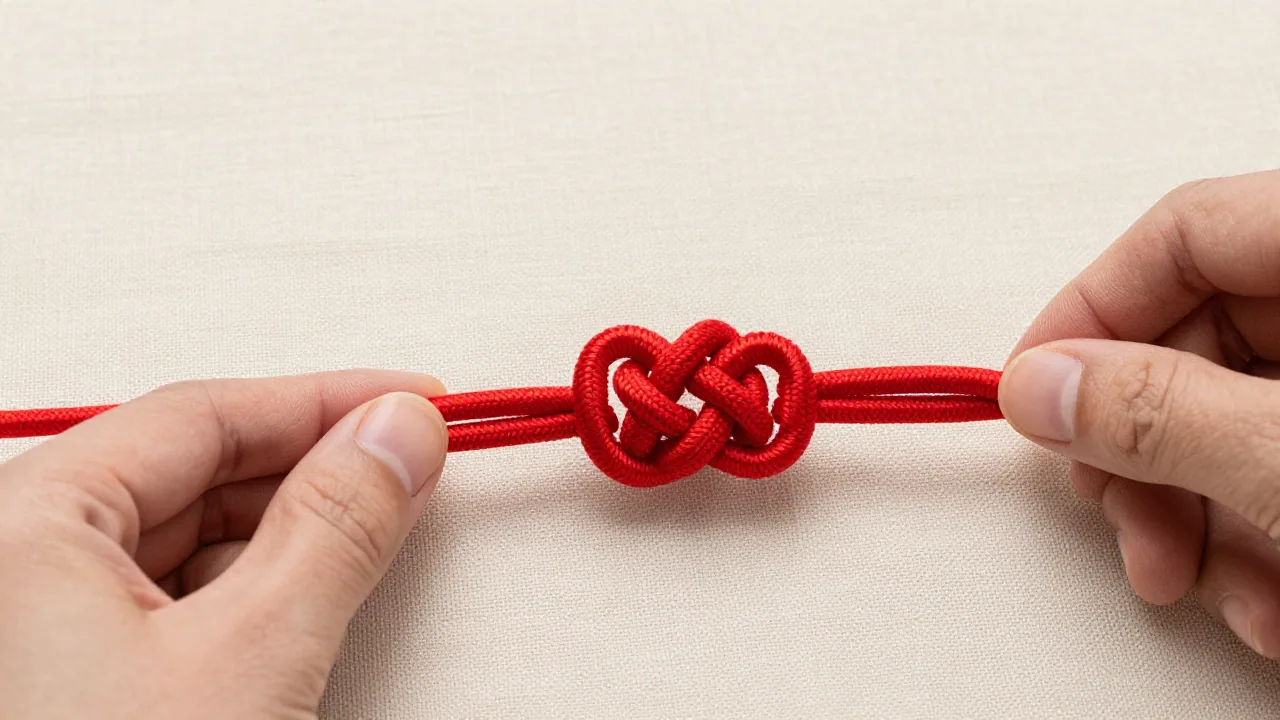
When the knot holds its rounded shape, check both tails and the face of the knot. The visible loops should feel balanced, and the cord should not twist sharply at the crossing points.
Trim only after you are sure the knot is correct. For practice pieces, leaving longer ends makes it easier to untie and repeat the exercise. For a finished project, choose a finishing method that matches the cord material.
If the knot will be used on clothing, jewelry, or a hanging ornament, test it gently before relying on it. Decorative knots can loosen if the cord is slippery or the tightening was uneven.
Practice fixes for loose, crossed, or uneven button knots
A loose knot usually means the slack was not moved through the whole shape. Tighten from the center outward, then check each loop again. Do not simply yank the tails.
A crossed knot means the working end likely passed over or under the wrong strand. Loosen the knot until the path is visible and correct the crossing before tightening again.
An uneven knot usually comes from one side receiving more slack. Adjust the larger side first, then tighten the smaller side gently until the button shape looks balanced.
Chinese button knot finishing checklist
- Cord is round enough to hold a visible curve.
- The starting loop remains open before tightening.
- The pass-through path is correct before any hard pull.
- Slack is moved through both sides in small stages.
- Cord ends are trimmed or sealed only after the shape is checked.
Chinese button knot questions
What cord is best for learning a Chinese button knot?
A smooth round cord with moderate firmness is easiest for practice because it bends clearly while still holding the rounded button shape.
Why does my Chinese button knot look uneven?
Uneven slack is the usual cause. Loosen the larger side slightly, move slack toward the smaller side, and tighten again in stages.
Can I use flat ribbon for a Chinese button knot?
Flat ribbon can work for some decorative projects, but beginners usually find round cord easier because the path and tension are easier to read.
Should I glue or heat-seal the cord ends?
That depends on the cord material and project. Glue or heat sealing should only happen after the knot is correct, and heat requires careful handling.
Is this the same as a Chinese button knot meaning page?
No. This page focuses on making one knot variation. Symbolic meanings can be discussed separately from the physical cord path.