 Chinese Knot Guide
Chinese Knot Keychain Tutorial: Cord, Loop, and Finish Steps
Follow a Chinese knot keychain tutorial focused on cord choice, loop setup, gradual tightening, hardware fit, and beginner finishing checks.
Quick Answer: A chinese knot keychain tutorial should start with cord, ring hardware, and one simple knot path, then tighten the loops gradually so the finished keychain holds shape without frayed or stressed cord.
Keychain method facts
- Materials
- Cord, ring hardware, clips, and safe cutting tools.
- Difficulty
- Beginner project if the knot path stays simple.
- Step
- Use one manageable knot path for the first attempt.
- Method
- Adjust loops gradually from the center outward.
- Tools
- Handle cutting, sealing, and small hardware carefully.
Prepare cord and hardware before tying
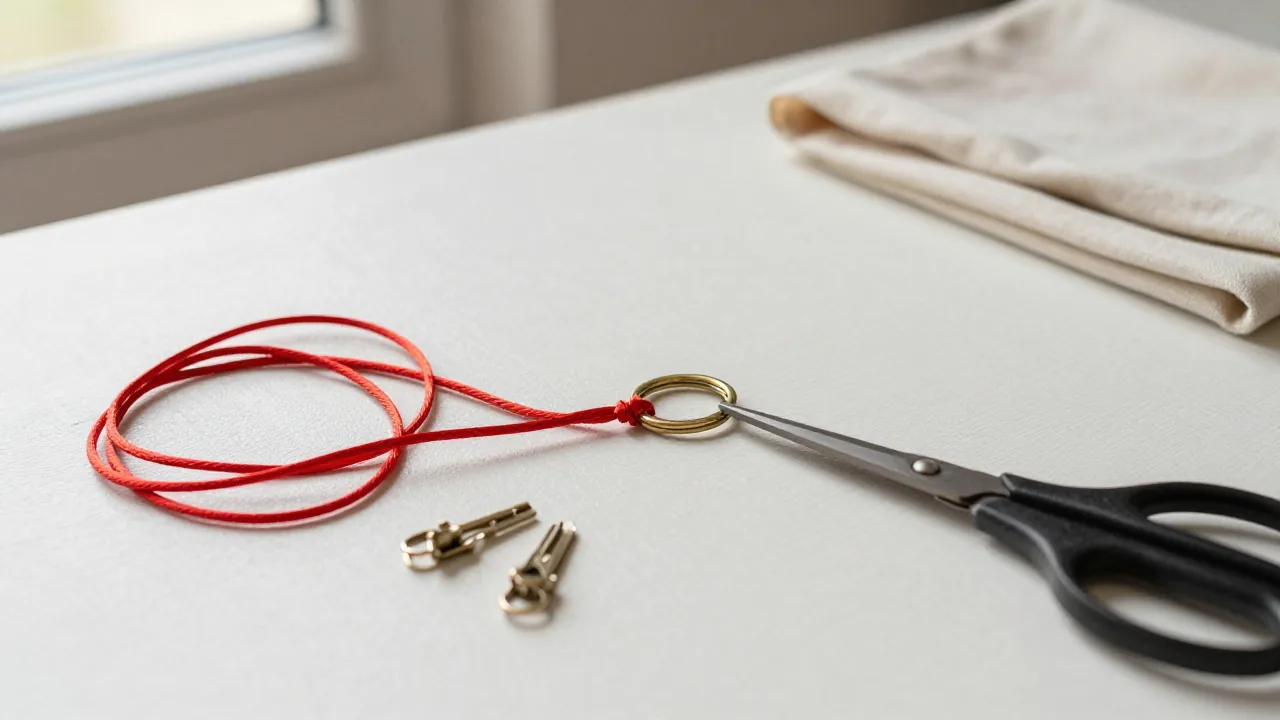
A Chinese knot keychain tutorial can fail before the first loop if the cord and ring do not match. Thick cord may look bold but crowd the hardware, while thin cord may collapse after tightening.
Start with cord that bends smoothly and a key ring or clasp with enough opening for the finished top loop. Lay out scissors, clips, and any bead before tying.
If heat sealing is used, work in a ventilated area and keep the flame away from finished loops. For children, an adult should handle cutting and sealing.
Set up the top loop with enough clearance
The top loop is the part that connects the knot to the key ring. Leave enough clearance so the keychain can move without bending the knot body.
Hold the cord ends evenly before forming the first crossing. Uneven starting lengths make the final tails harder to align.
Use a clip if the cord slides. A stable starting loop lets the rest of the knot sit flat instead of twisting around the ring.
Make one knot path slowly
For a first keychain, use one simple Chinese knot path and do not combine several decorative ideas at once. The goal is a stable, readable knot body.
Keep the cord flat where it crosses. If a strand flips, pause and correct the twist before pulling more slack through.
Work with loose loops until the full path is visible. Tightening too early hides mistakes and can trap crossed cord.
Tighten both sides in small passes
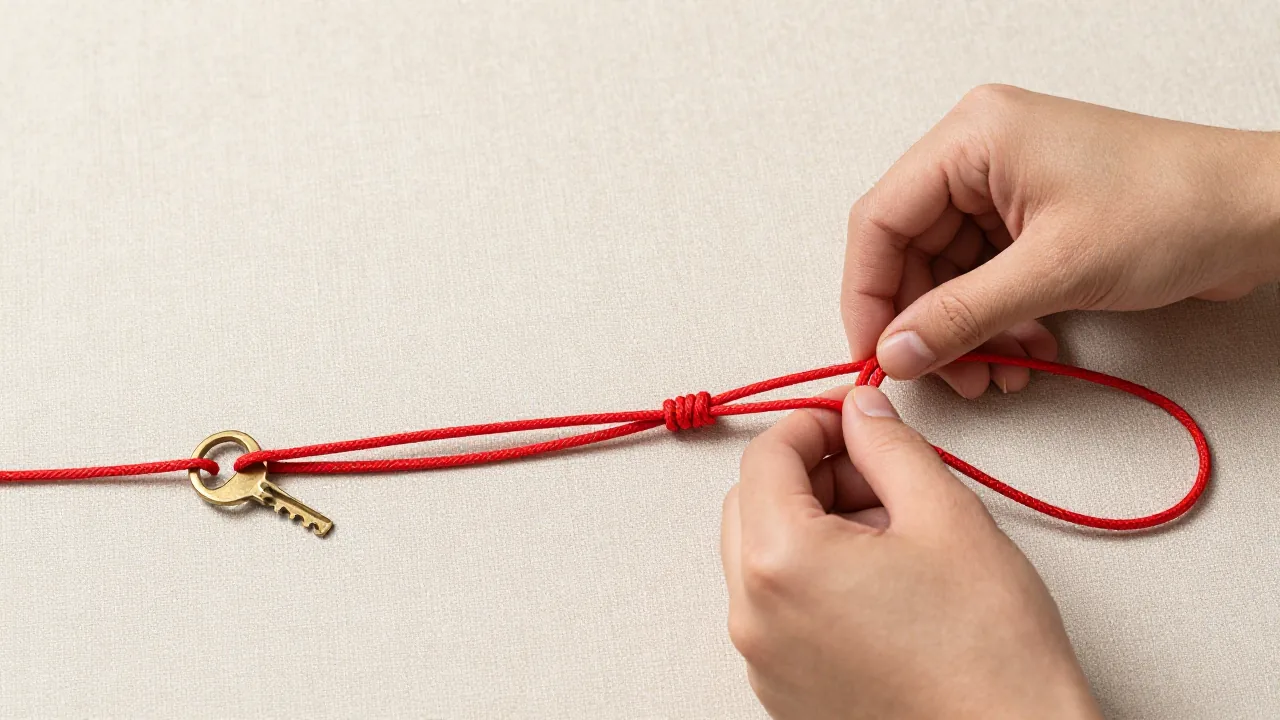
Tightening is a sequence, not one hard pull. Move slack through matching loops little by little so the left and right sides shrink together.
Check the shape after each pass. If one lobe becomes taller or narrower, loosen it slightly and feed slack back through the opposite side.
The finished knot should feel firm but not strained. Cord that looks flattened, frayed, or pinched has been pulled too aggressively.
Finish the tails for daily use
Trim the tails only after the knot and hardware position are settled. Leaving a little extra length is safer than cutting too close too soon.
Depending on cord material, tails can be knotted, tucked, glued, or heat sealed. Choose the finish that matches the cord and expected use.
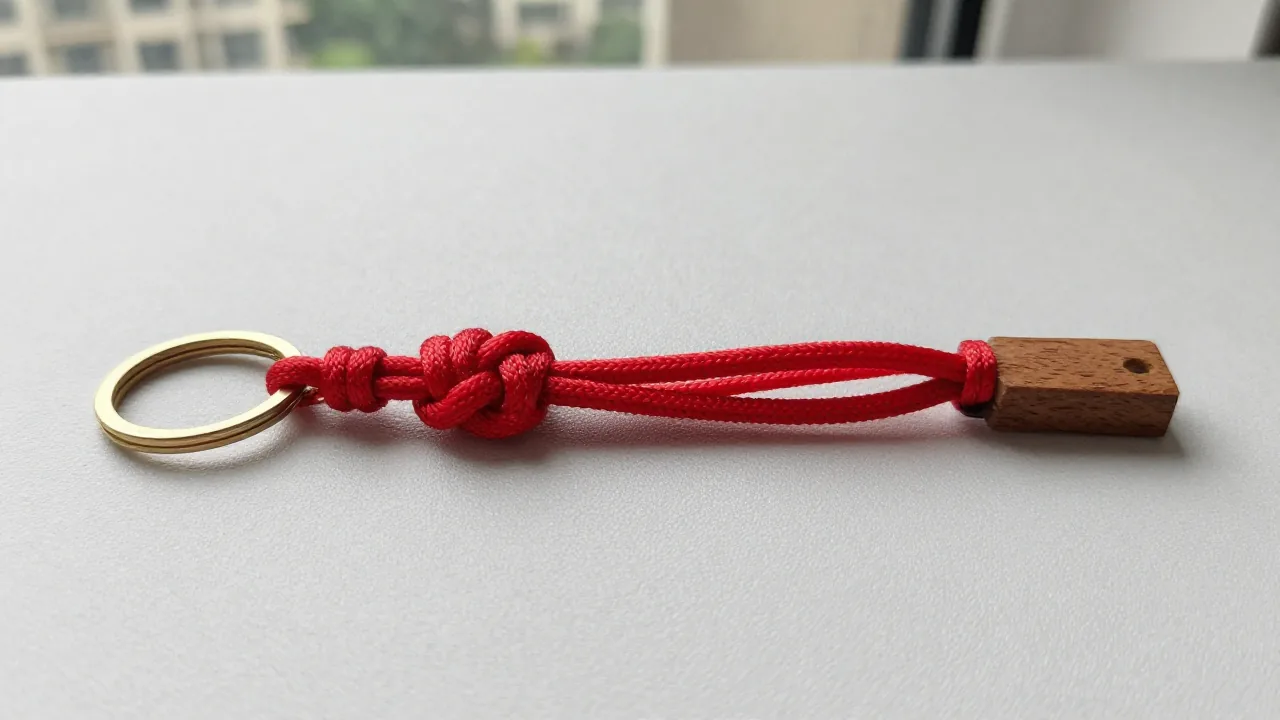
Before using the keychain, tug the ring gently, check that the knot does not slide, and confirm no sharp hardware edge rubs the cord.
Keychain finishing checks
- Match cord thickness to the key ring.
- Leave enough clearance at the top loop.
- Keep crossings flat while the knot is loose.
- Tighten in several small passes.
- Check tails and hardware before daily use.
Chinese knot keychain tutorial questions
What cord works for a Chinese knot keychain?
Use cord that bends cleanly, holds shape, and fits through the hardware.
Should I tighten the knot right away?
No. Keep it loose until the path is correct, then tighten gradually.
Can I add beads?
Yes, if the bead hole fits the cord and does not crowd the knot.
Is heat sealing always needed?
No. It depends on cord material and project use.
What is the most common beginner mistake?
Pulling one side too hard before both sides are aligned.