 Chinese Knot Guide
Chinese Butterfly Knot Tutorial: Steps for Controlled Tightening
Chinese Butterfly Knot Tutorial: Steps for Controlled Tightening. Follow one declared overlapped-outer-loop butterfly knot path, preserve loop order, and tighte
Quick Answer: To follow this Chinese butterfly knot tutorial, prepare one smooth decorative cord, lay out the ten ear loops of the selected overlapped variation in order, and keep every crossing loose enough to inspect. Pin the loops while building the path. After the last loop returns through the first part of the knot, compare both sides, then tighten in several circuits by transferring small amounts of slack from the center toward the outer loops and tails. Stop and reopen the last pass if a crossing flips or one wing collapses.
Butterfly knot setup and path facts
- Method variation
- This tutorial follows an overlapped-outer-loop butterfly knot with ten numbered ear loops.
- Materials and surface
- Keep the cord path open on a flat pin board until every crossing has been checked.
- Order rule
- Build and trace the loops in the declared sequence rather than improvising a mirror half.
- Tightening rule
- Move slack in small stages and compare the left and right outer loops before final setting.
- Use boundary
- This is decorative cordwork, not a load-bearing or safety knot.
Set up one exact butterfly-knot variation
# Chinese Butterfly Knot Tutorial: Steps for Controlled Tightening A Chinese butterfly knot is easier to learn when the variation is named before the cord moves. This tutorial follows one overlapped-outer-loop pattern with ten ear loops. It does not combine that path with an alpine butterfly, a macrame bow, or another decorative knot that happens to share the word butterfly. The aim is a readable cord map and a balanced decorative result. Work with the knot lying open on a pin board. Check each pass before tightening, then move slack through neighboring loops instead of pulling hard on the two ends. The method rewards patience more than force.
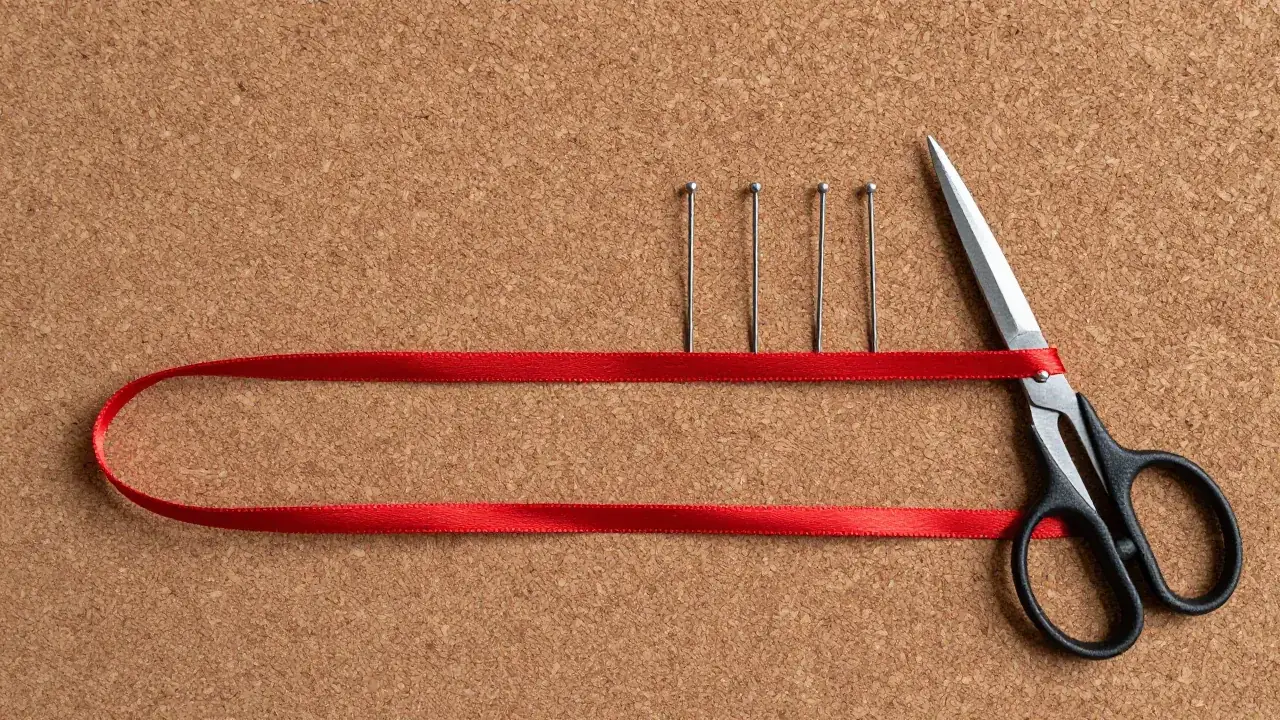
Clear a flat work area and choose cord in a color that contrasts with the board. A smooth satin-style decorative cord makes crossings visible, but the material description should come from the supplier rather than from shine alone. Cut only after checking a trusted pattern's length guidance or begin with extra cord for a practice sample. This page does not provide a universal cut length because diameter, loop size, tail length, and the chosen finishing arrangement all change the amount needed.
Use plain pins to hold bights without piercing the cord. Keep scissors closed and away from the path until the sample is complete. If the cord material is unknown, do not melt its ends. Heat finishing can release fumes, damage a coating, or create a hard sharp tip. A temporary tape wrap or an unheated practice end is enough while learning.
The Chinese knotting overview describes the craft as commonly symmetrical and often made from one length of cord. Those broad characteristics help explain the working method, but they do not define a unique butterfly path. The detailed sequence used here follows the overlapped butterfly example on a Lydia Chen book page. Keep that exact diagram beside the board while tracing the numbered loops.
Build the ten ear loops while the path is open
Start by forming ear loop 1 and pinning its base with room for later passes. Pull ear loop 3 through loop 1, then bring ear loop 4 through loops 1 and 3. These first loops establish the open central field. They should lie flat without being tightened into a compact knot.
Turn the working end back to make ear loop 2. Pass it through loop 1 and wrap it around loops 3 and 4 as shown in the selected pattern. Form loop 5 and take it through loops 1, 2, 3, and 4. Then pull loop 6 through loops 2, 3, 4, and 5. At this stage, pause and trace the cord from the standing side to the working end. Each strand should stay in its intended over-or-under relationship; two adjacent strands should not quietly swap levels.
Next form loop 9, taking it through loops 5 and 6 and around loops 1, 2, and 3. Form loop 7 through loops 3, 4, 5, and 6, then around loops 9 and 1. Loop 8 passes through loops 4, 5, 6, and 7 and wraps around loops 9, 1, and 2. Finally, loop 10 travels through loops 6, 7, 8, and 9 and wraps around loops 1, 2, 3, and 4.
Those numbers are addresses in this one pattern, not names for permanent parts of every butterfly knot. If the open shape no longer resembles the source diagram, undo only to the last confirmed loop. Continuing from an uncertain crossing makes the later tightening problem harder to diagnose.
Trace every crossing before removing pins
Use a blunt wooden awl or fingertip to follow the working cord continuously. At each intersection, say whether the strand goes over or under, but do not mark the cord with ink. The trace should return through every loop without jumping across a gap or entering an unrelated bight.
Compare paired areas rather than assuming the second side mirrors itself automatically. The source pattern reverses some ear-loop relationships in the overlapped arrangement. A visually similar loop can still have the wrong crossing order. Check the upper pair, side wings, center, and lower return separately.
Leave a small amount of movable slack at every turn. A path that is already tight against the pins cannot redistribute tension. If a pin bends the cord sharply, move the pin outside the bight so it supports the curve rather than becoming part of it. The pins are temporary layout aids; the cord path, not the hardware, must hold the final structure.
Tighten by moving slack, not by pulling the ends
Begin near the center and choose one direction around the knot. Shorten one segment slightly, then pass the released slack into its neighbor. Continue through a full circuit before making another major adjustment. Pulling one tail strongly can shrink a distant wing, lock an incorrect crossing, or turn the center off axis.
After the first circuit, compare the outer loops on the left and right. Adjust the larger side by feeding a little slack toward the smaller side through the intervening crossings. Do not yank across several tight bends. Lift a crossing gently with a blunt tool when necessary, taking care not to snag or split the braid.
Repeat the circuit until the center is coherent but still adjustable. Set the outer silhouette next, then refine the smaller internal spaces. The book guidance emphasizes making the left and right sides identical before final tightening. Treat that as a visual balancing goal, not a claim that handmade measurements must be mathematically perfect.
Shape the wings before setting the tails
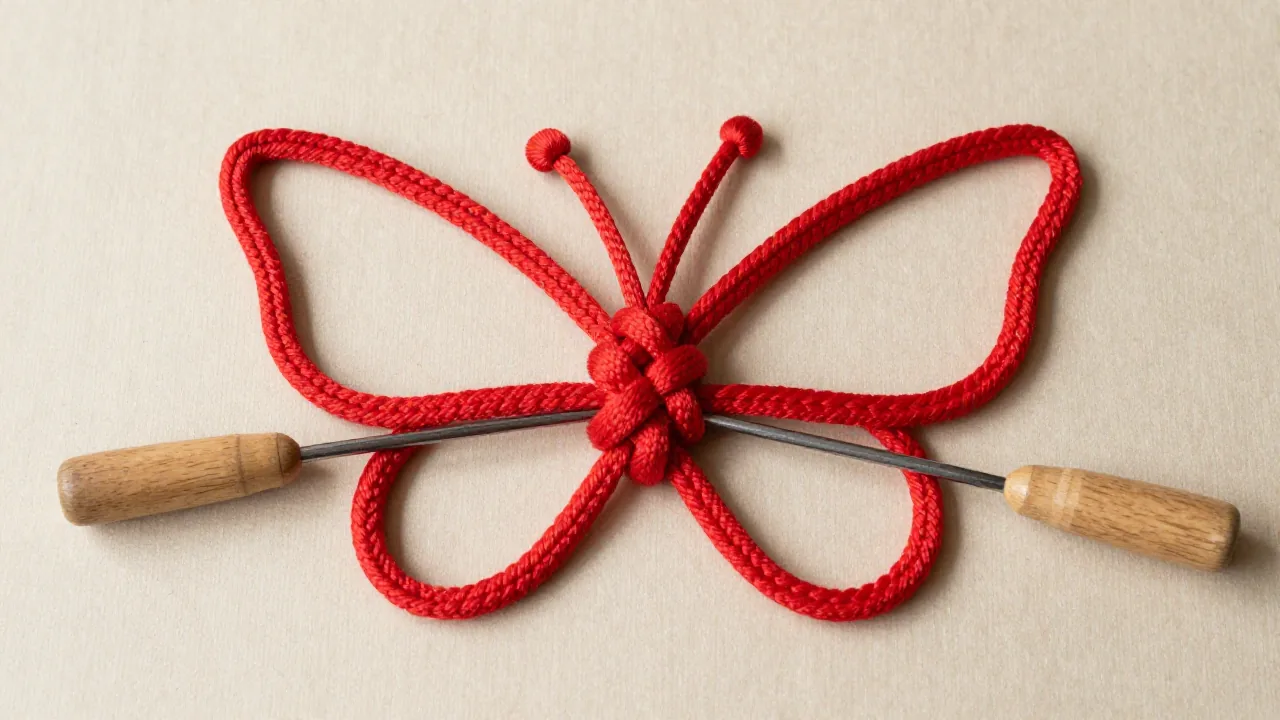
The butterfly impression comes from paired outer lobes surrounding a compact woven center. Shape the upper and lower portions while enough slack remains to reopen a crossing. A wing should curve smoothly rather than fold at the pin location. If one side has a longer cord path, locate the segment holding the extra slack instead of hiding it in a sharp bend.
Keep the tails parallel or arrange them according to the intended decorative project only after the knot body is stable. A tassel, bead, or fastening can change how the tails need to leave the knot. Finish the tutorial sample as a loose ornament before committing it to clothing, jewelry, or a hanging.
Inspect the back as well as the front. A clean front can conceal a crossed tail or twisted braid behind the center. Rotate the board rather than lifting a loose knot into the air. Once both faces are checked, remove pins one at a time and support the nearby loop as each pin comes out.
Reopen these faults instead of forcing the knot
If one wing disappears during tightening, the problem is usually trapped slack or an early crossing that has locked. Work backward one segment at a time until the wing can open. Do not pull the opposite tail as a shortcut; that may shift the imbalance without correcting its cause.
If the center looks bulky, check for a doubled pass in a channel intended for one strand. If the back has a diagonal line that the diagram does not show, trace that strand to the first changed crossing. If the left and right outlines differ, compare corresponding loops while the knot is still loose enough to edit.
Cord twist can also imitate a path error. Flatten the braid before deciding that a pass is wrong. A visible twist that continues through several crossings should be backed out toward the free end. Forcing it into the center creates uneven thickness and makes the front surface harder to read.
The open-path workflow
- Select: Confirm this is the ten-ear-loop overlapped variation
- Prepare: Use contrasting cord, a flat board, plain pins, and a blunt tool
- Lay out: Build loops in the declared order and keep crossings open
- Trace: Follow one continuous cord through every over-under pass
- Balance: Compare paired outer loops before compacting the center
- Tighten: Move small amounts of slack through repeated circuits
- Finish: Check front, back, wings, center, and tail direction
Questions about the Chinese butterfly knot
Is this the same as an alpine butterfly knot?
No. This is a decorative Chinese knotting pattern with an overlapped ear-loop structure. An alpine butterfly is a functional loop knot with a different construction and purpose.
Why does the loop numbering seem out of order?
The numbering identifies loops in the selected source sequence. Some overlapped relationships require later-numbered loops to be formed before earlier-numbered neighbors. Preserve the declared order rather than renumbering it by appearance.
Can I tighten each loop as soon as I make it?
Keep the path open until all crossings are traced. Early tightening can lock an error and remove the slack needed to balance the two sides.
How do I fix one smaller wing?
Find the neighboring segment holding slack, lift tight crossings gently, and feed a small amount toward the smaller wing. Work through a circuit rather than pulling one tail hard.
Is the finished knot safe for load-bearing use?
No. This tutorial covers decorative cordwork only. It does not establish strength, restraint, climbing, rescue, lifting, or child-safety performance.